
Young students often perceive chemistry as complex, highly mathematical, and data-driven. And while maths and analytics play an important role in chemical reactions, acids, and molecular processes, there’s another side to the subject – and it’s lots of fun.
Conducting hands-on science experiments at Key Stage 2 (KS2) and Key Stage 3 (KS3) gives kids a glimpse into the magical world of chemistry. They get the chance to observe, question, and discover things in a way textbooks simply cannot replicate.
Executed properly, age-appropriate experiments can turn a curious young student into a passionate learner. In this article, we highlight some interactive science experiments for schools to add to their lesson plans.
Key Takeaways
Classroom science experiments help KS2 and KS3 students better understand the practical applications of chemistry
There are plenty of science experiments for schools to use that encourage curiosity and build confidence
KS2 science experiments introduce core scientific principles and help students distinguish between different states of matter and chemical properties
KS3 science experiments introduce students to more chemicals and explore topics like exothermic reactions and molecular bonds.
Safety and preparation are crucial for successful science experiments for schools
In this post:
The Benefits of Practical Chemistry Experiments for Students
Textbooks are fine for teaching foundational science and chemistry concepts, but practical work is where learning comes to life.
Classroom science experiments link abstract concepts and real-world understanding, make learning more effective, and support students with different learning styles. For example, kinesthetic learners struggle with traditional, static lectures and react more to hands-on learning.
Encouraging a Curiosity For Science
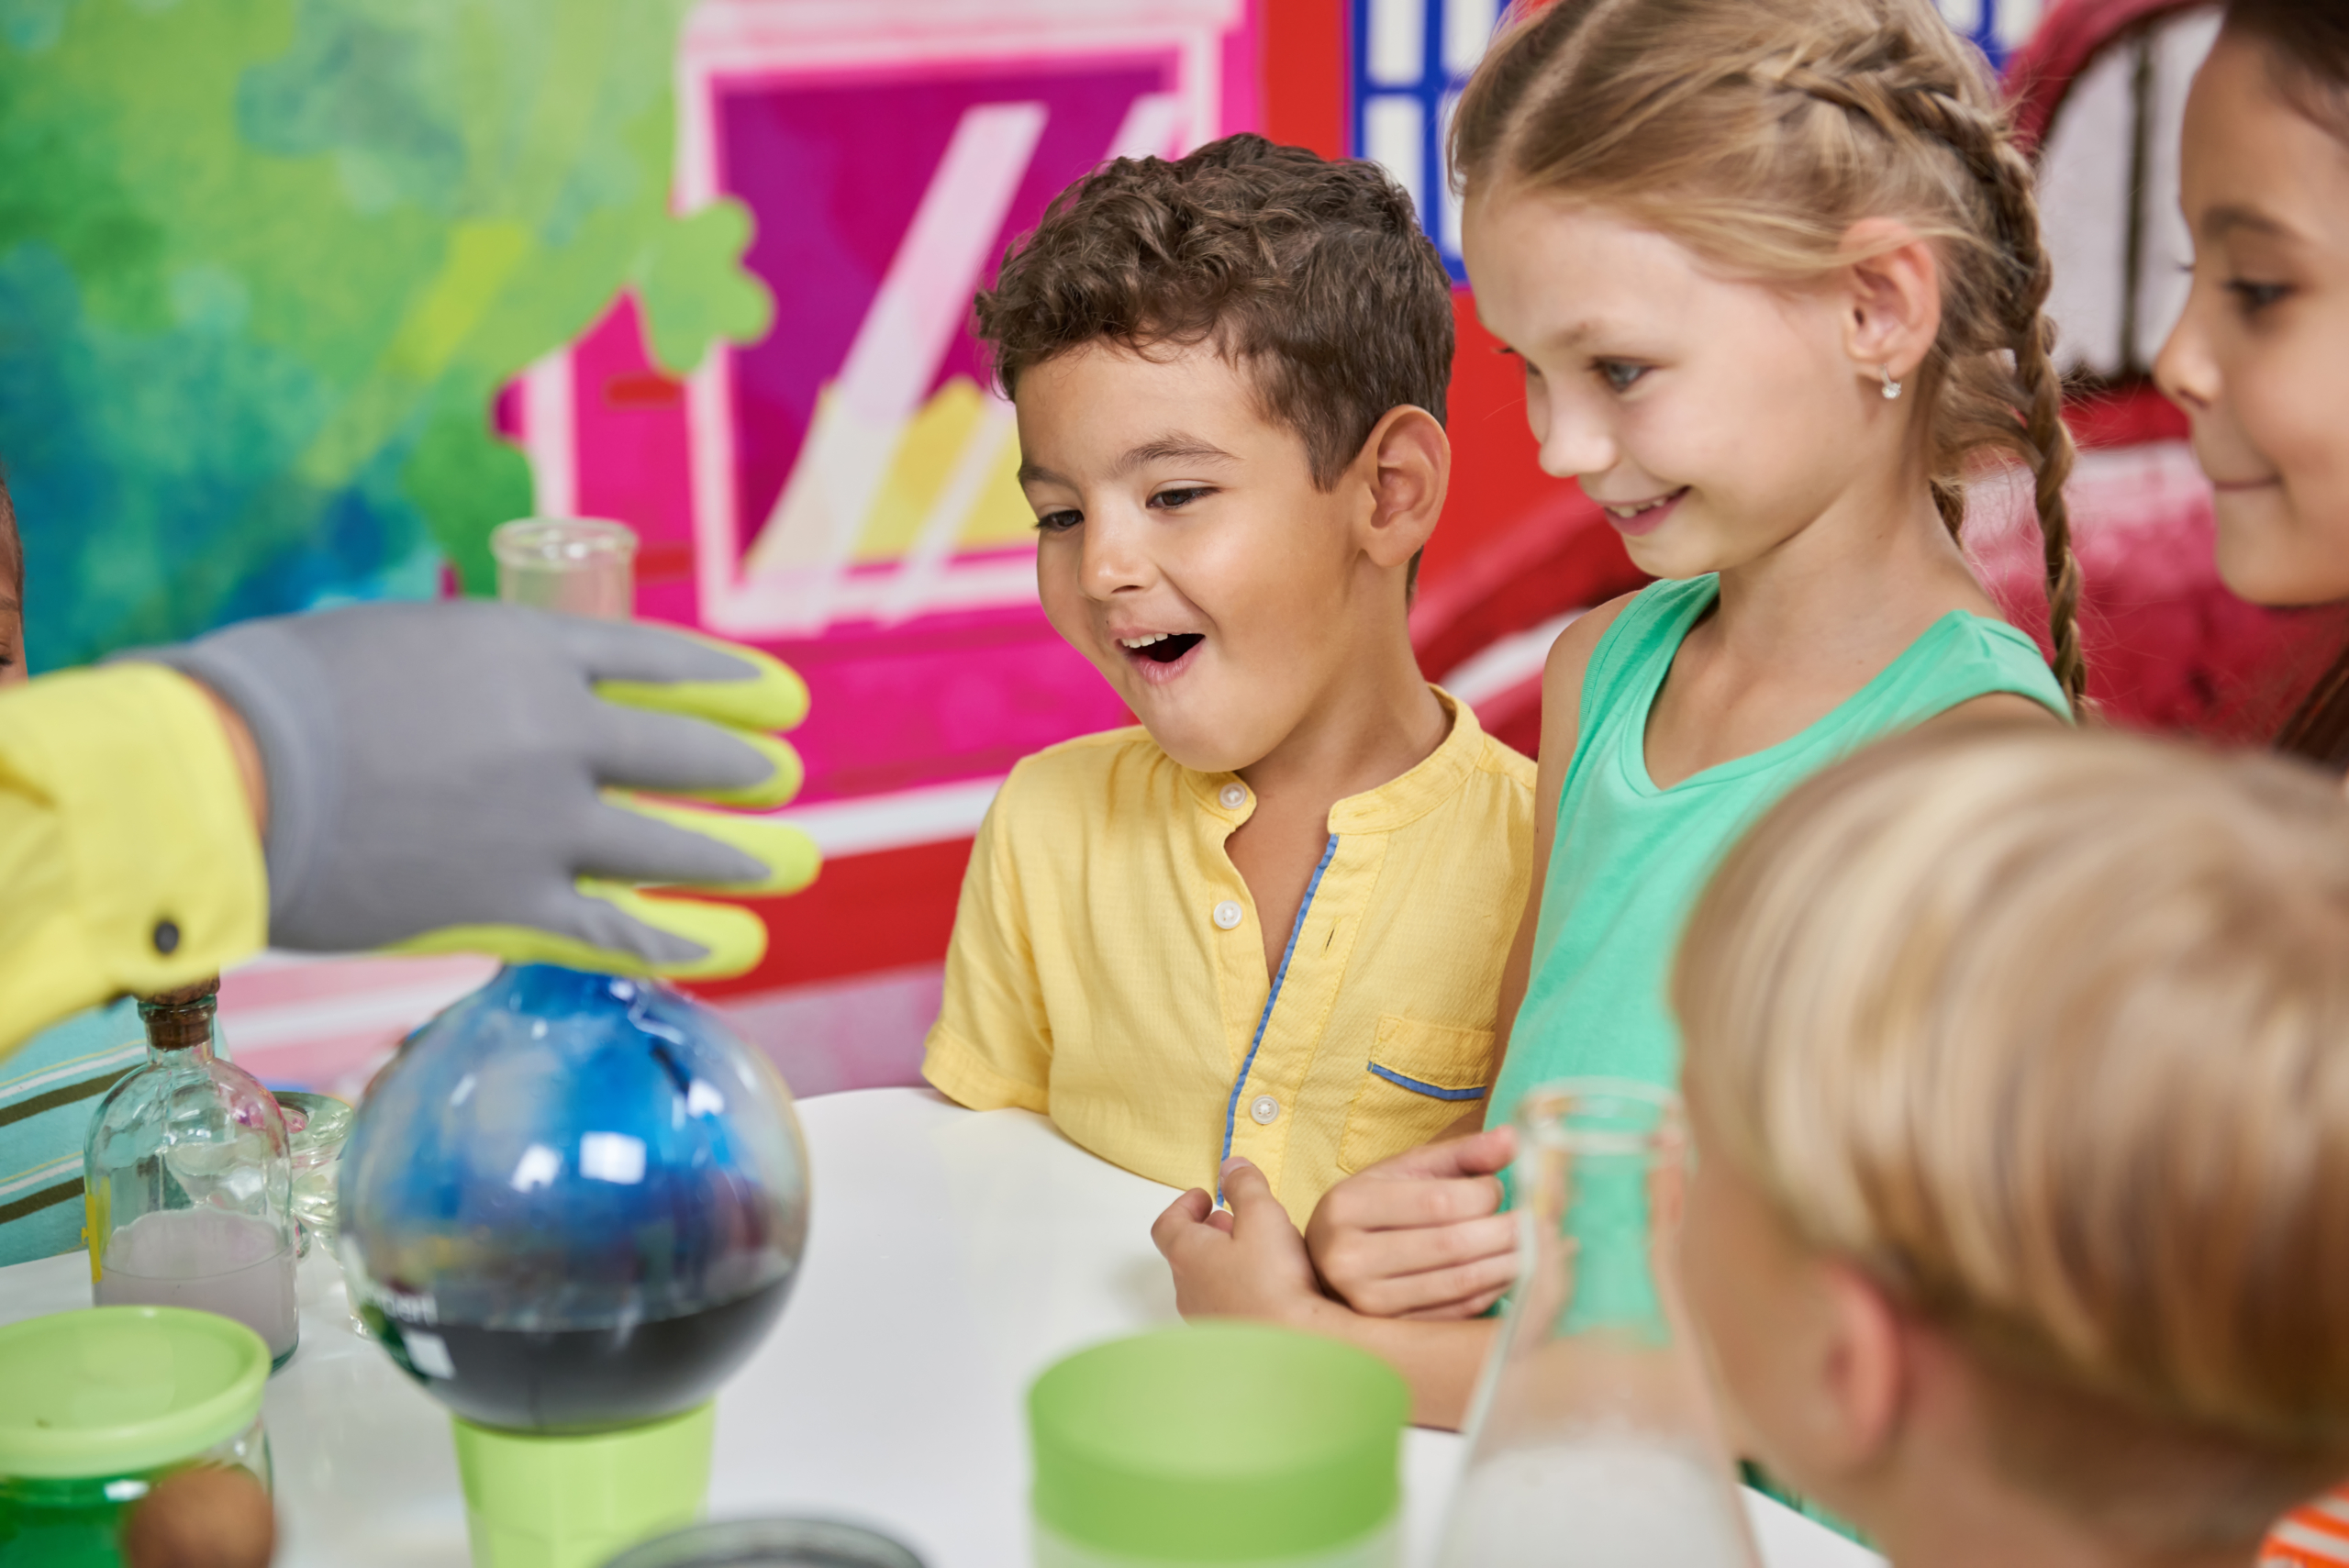
When children see a chemical reaction in front of them, their instinct is to ask how it happened. Natural curiosity has been the seed of every major scientific breakthrough in history.
School science experiments teach students to observe the world with a more inquisitive eye. Experiencing a colour change in a beaker or a fizzy chemical reaction can inspire students to ask scientific questions about everyday things like food or the weather. This creates young thinkers who actively seek a better understanding of the natural and man-made world.
Building Confidence In The Classroom
A successful science experiment builds a unique kind of academic confidence. When students follow a method and achieve the predicted result, they feel a sense of accomplishment. Experiments provide a chance for these “win” moments young students thrive on.
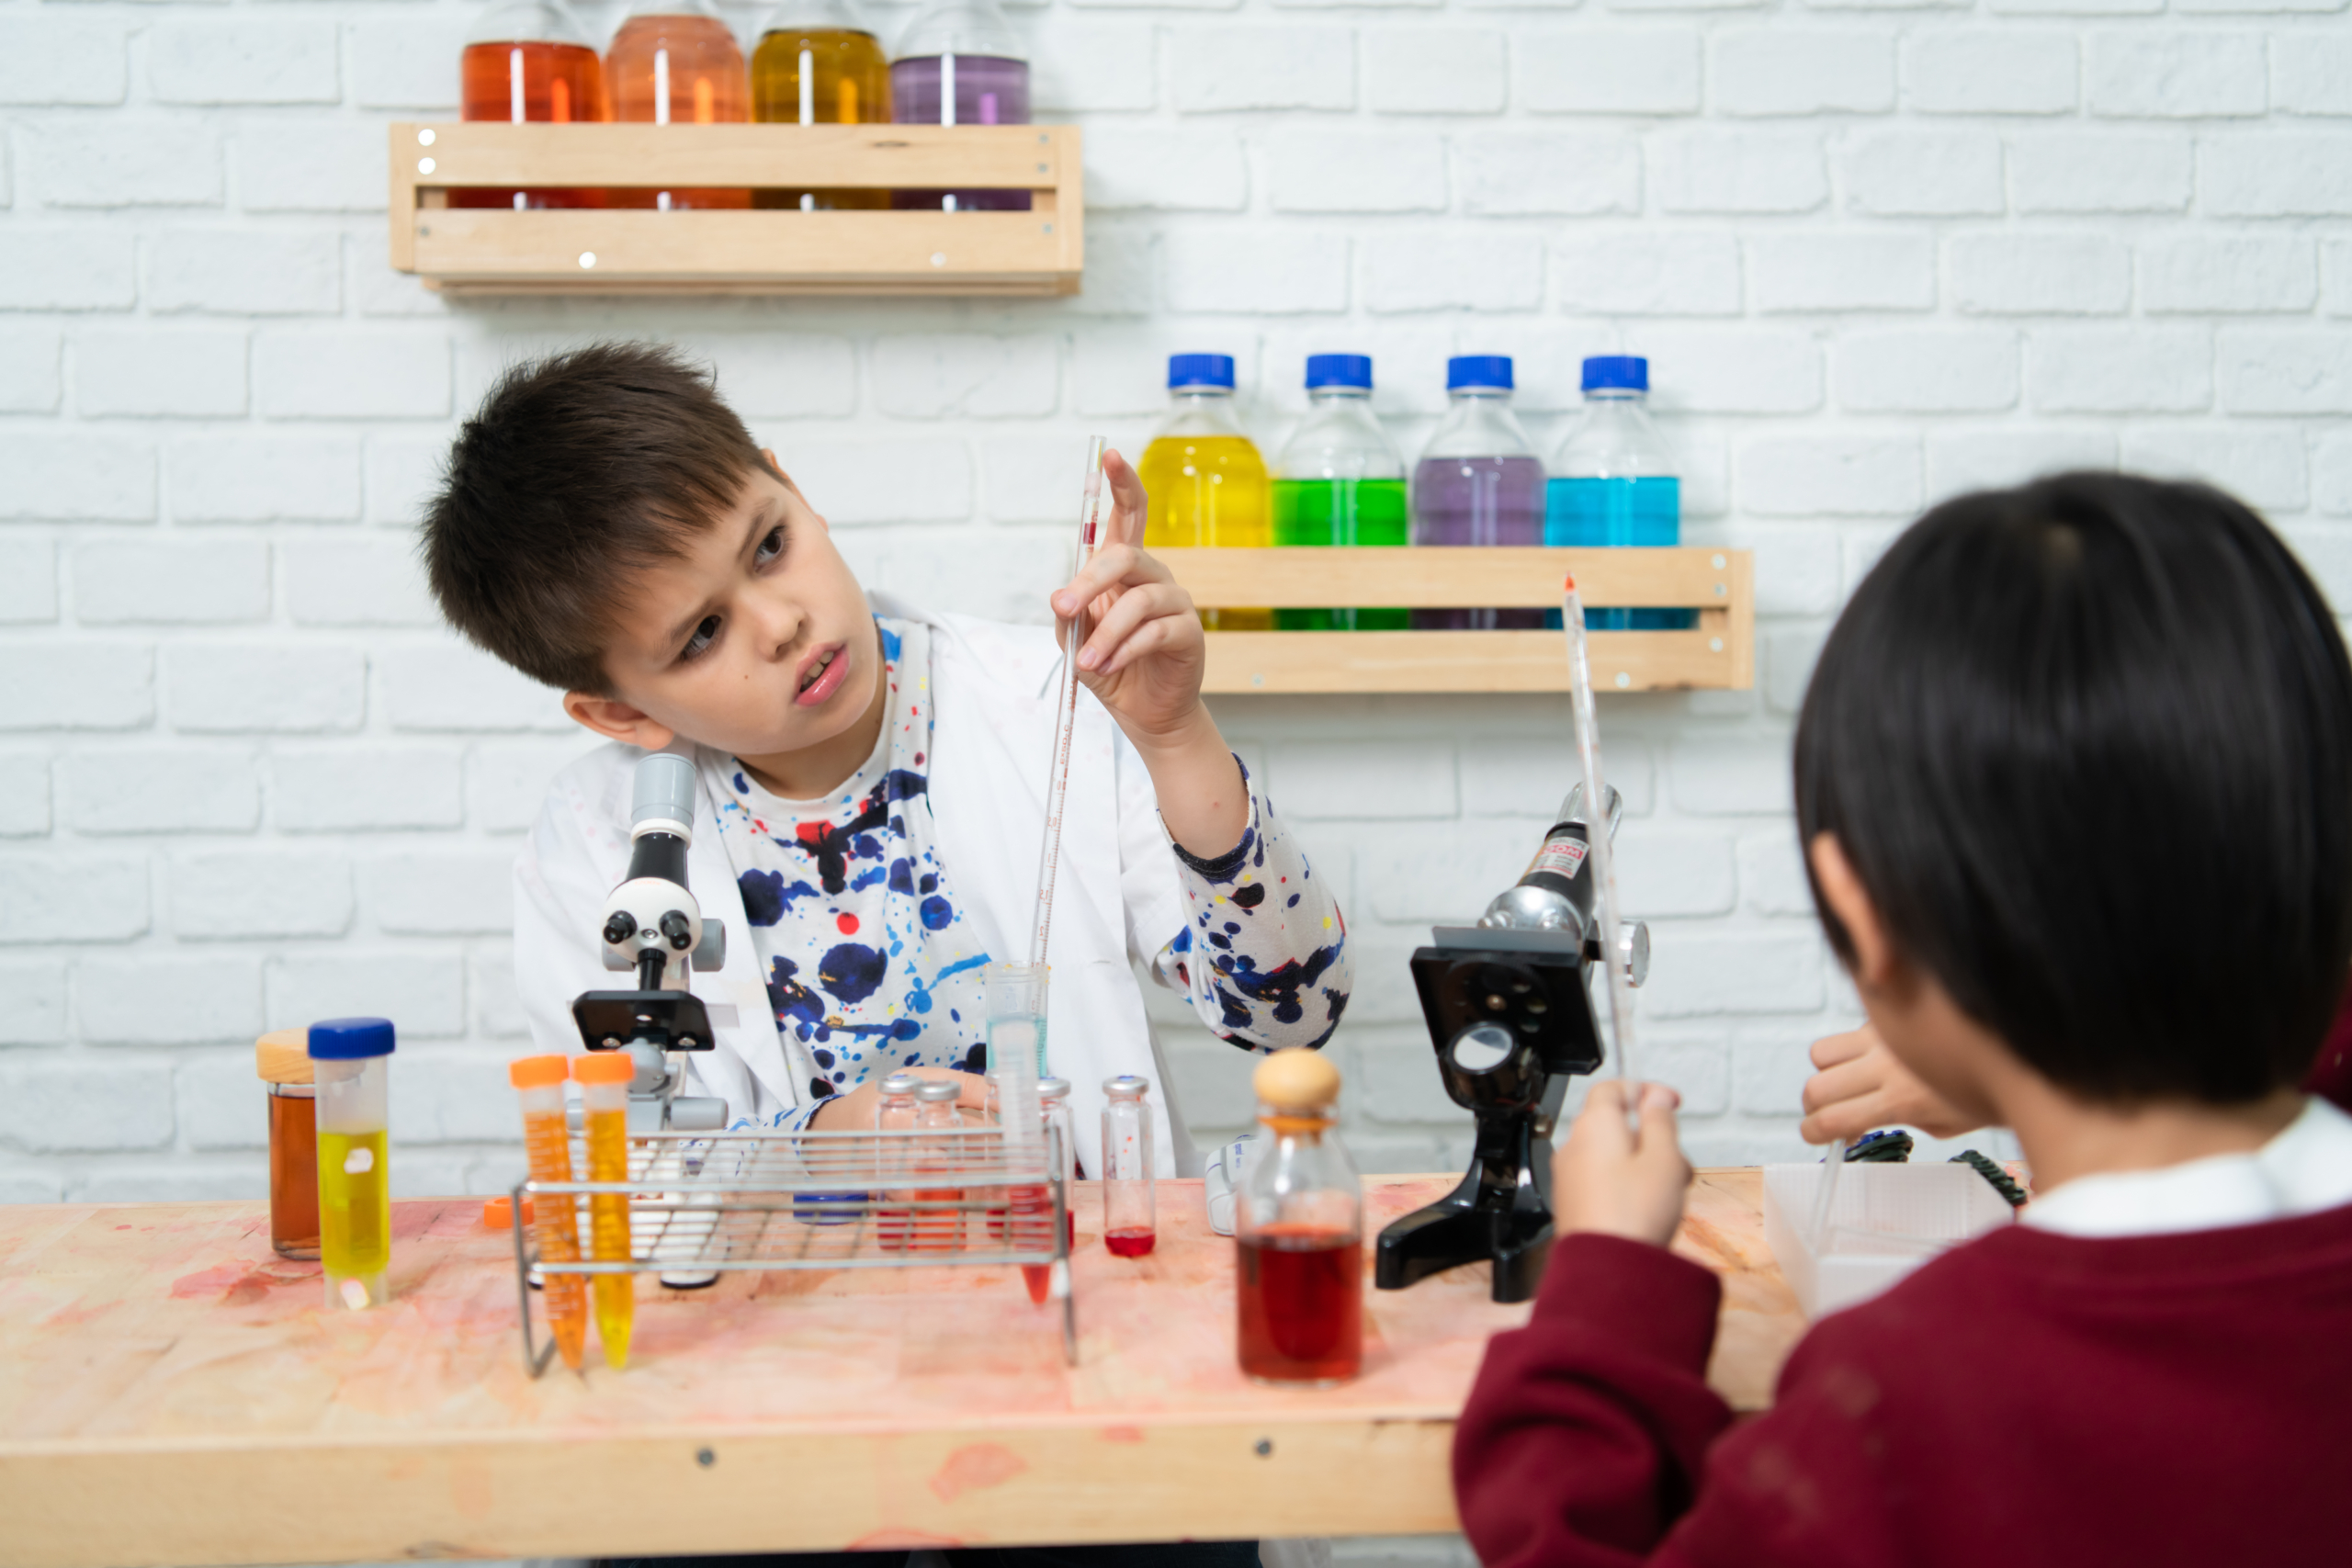
Working in small groups builds communication and teamwork skills. Students learn to share responsibilities, discuss their findings, and support each other – all while developing a deeper scientific understanding.
KS2 Science Experiments for Schools
Key Stage 2 is the perfect age for introducing foundational concepts in science and chemistry. Experiments should focus on interaction, visual impact, and observable results.
The following science experiments for schools are ideal for young learners. They introduce core scientific principles and help students distinguish between different states of matter and basic chemical properties.
Rainbow Walking Water
This experiment provides a brilliant visual lesson on capillary action, the process by which water moves through a narrow space.
Materials needed:
- Six small transparent cups
- Paper towel
- Primary-coloured food dyes (red, yellow, and blue).
Start by placing the cups in a row and filling every other cup with water and a few drops of dye. Fold strips of paper towel and place them in the cups to form bridges between full and empty cups.
Over a few hours, the water walks up the towel and into the empty cups. As the colours mix in the previously empty cups, students see secondary colours emerge. This is a great demonstration of how plants move water from roots to leaves.
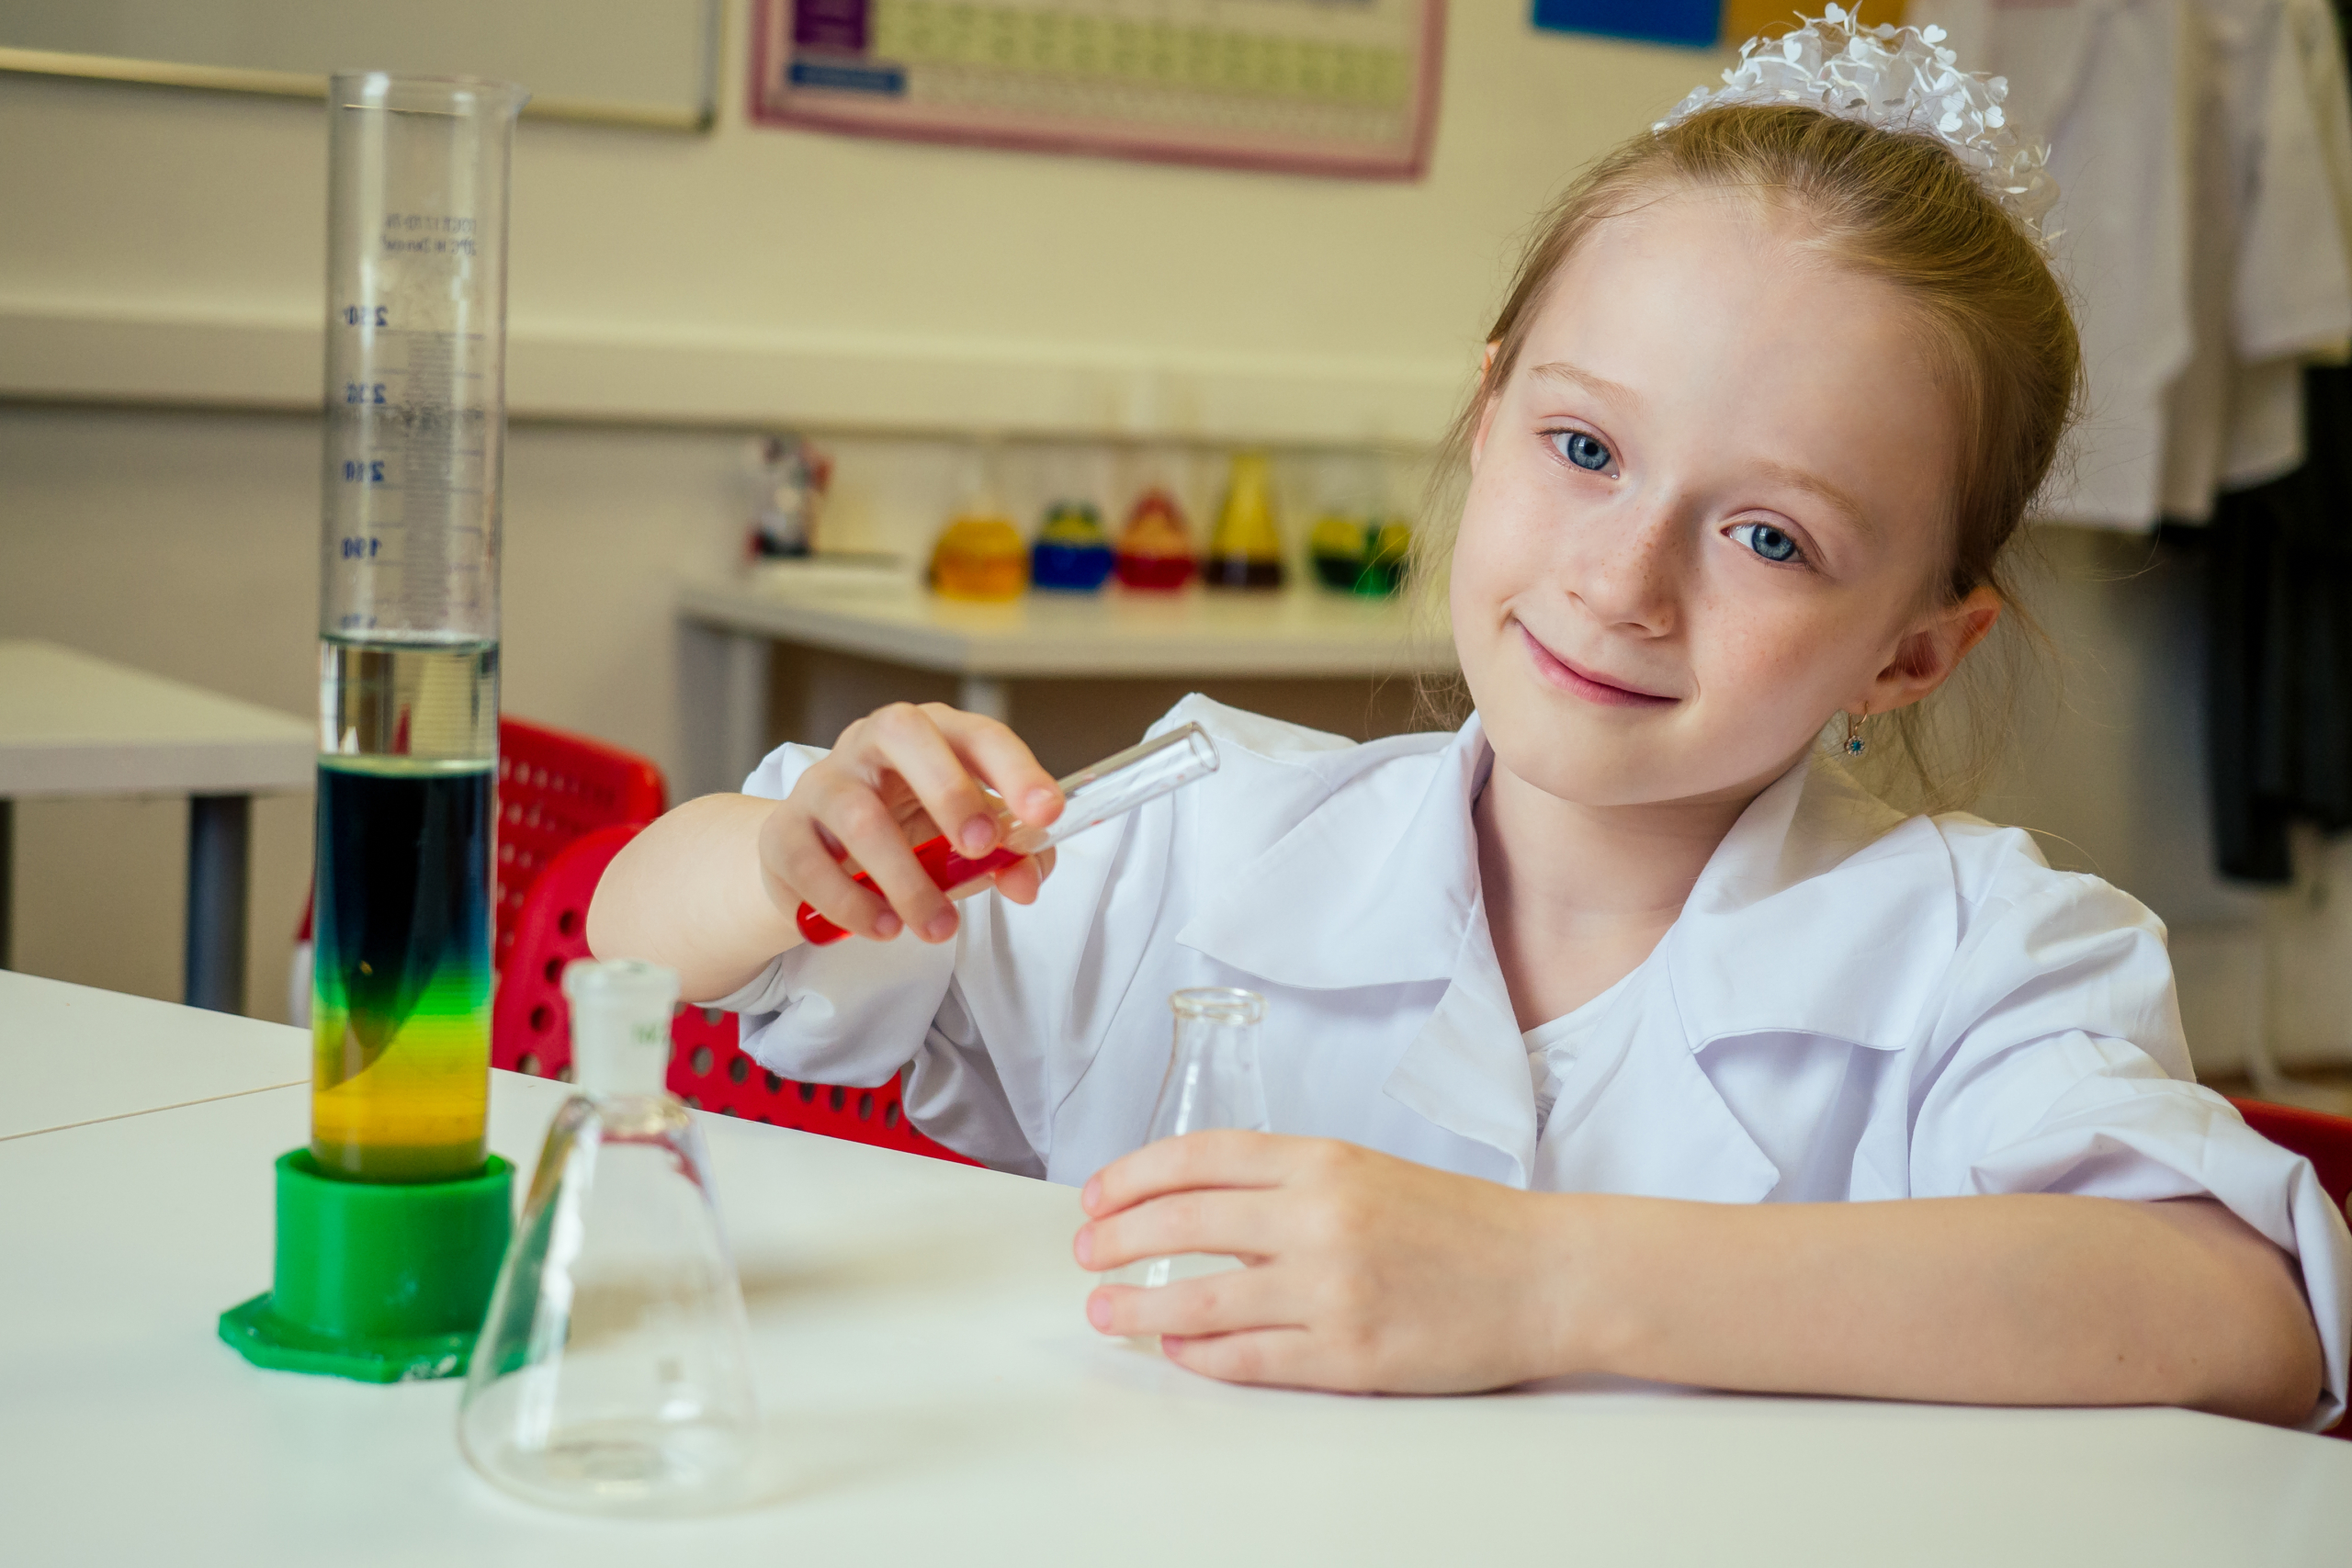
Density Jar
Density can be a tricky subject for younger students. The density jar experiment creates a visual model of the concept.
Materials needed:
- Liquids of different densities, such as honey, washing-up liquid, water, vegetable oil, and isopropyl alcohol
- A tall glass jar
Carefully layer each liquid in the glass jar from densest to least dense. Start with honey at the bottom, followed by washing-up liquid, water, vegetable oil, and isopropyl alcohol.
Students will notice that each liquid sits on top of the other without mixing because of their different molecular structures. Have students drop small objects of varying weights into the jar. The objects will “float” at different levels depending on their own density relative to the liquids.
Square Bubbles
Most children assume all bubbles are spherical. The square bubbles experiment challenges this assumption and teaches students about geometric structures. Consider making this an outdoor experiment, as it can get messy.
Materials needed:
- 8 drinking straws
- 8 pipe cleaners
- Plastic tub
- Dish soap
- Water
- Glycerin
Start by constructing a cube-shaped frame using straws and pipe cleaners. Create a solution of water, dish soap, and a small amount of glycerin.
Submerge the frame in the solution. When you remove the frame, a series of film planes meet in the centre, creating a smaller square bubble inside the cube. This occurs because the soap film seeks the shortest distance between the frame edges.
This experiment demonstrates how surface tension works to minimise surface area. Seeing a square bubble appear is also fascinating for students.
KS3 Science Experiments for Schools
As students enter KS3, they’re ready for more complex experiments that involve a higher degree of testing and observation. They begin to learn about more chemicals, exothermic reactions, and molecular bonds.
The following science experiments are engaging, dramatic, and packed with learning opportunities.
Elephant Toothpaste
This visually stimulating experiment demonstrates the decomposition of hydrogen peroxide using a catalyst.
Materials needed:
- A plastic bottle
- 6% hydrogen peroxide
- Liquid soap
- Food colouring
- Dry yeast
Mix a combination of water, soap, food colouring, and hydrogen peroxide in the plastic bottle. Slowly pour yeast into the bottle – this is your catalyst.
The yeast strips the oxygen atoms from the hydrogen peroxide molecules. This releases a large amount of oxygen gas, which gets trapped by the soap to create a giant foam fountain.
This experiment shows students the difference between a slow reaction and one accelerated by a catalyst. Because the reaction is exothermic, the foam will be warm to the touch. It serves as an excellent introduction to chemical kinetics and energy changes.
Chromatography
This is one of the staples of science experiments for schools. It allows students to see that substances which look uniform are often made of many different parts.
Material needed:
- Filter paper
- Felt-tip pens
- A beaker of water
Start by drawing a concentrated dot of ink about two centimetres from the bottom of a strip of filter paper. Suspend the paper so only the tip touches the water. As the water travels up the paper, it carries the ink pigments with it at different speeds.
Larger molecules move more slowly, while smaller, more soluble molecules travel further up the strip. By the end, a single black dot might reveal itself as a streak of blue, red, and yellow. This teaches students about solubility and the purity of substances.
Rainbow Fizzy
This experiment focuses on pH indicators and the neutralisation reaction between acids and bases.
Materials needed:
- Sodium bicarbonate
- Citric acid or weak hydrochloric acid
- Granulated cylinder
- Water
- Universal indicator (you can buy this online)
Fill the graduated cylinder with water and add the universal indicator and a small amount of sodium bicarbonate. The solution will turn purple or blue, indicating an alkaline environment.
Gently drop in a few crystals of citric acid or pour in a weak hydrochloric acid solution. As the acid sinks and reacts with the alkali, a vibrant colour gradient appears. The cylinder will transition through the entire pH scale: purple, blue, green, yellow, orange, and red.
This experiment provides a live representation of acidity and alkalinity. Students can clearly see the neutral point (green) as the reaction progresses.
How to Prepare Your Classroom for Chemistry Experiments
Preparation is the difference between a smooth, educational experiment and a chaotic one. Before you start any of the science experiments for schools listed here, take time to set up your classroom.
Think about the layout first. Students need a clear workspace and easy access to materials. Set out equipment in advance and have a plan for how students will move around the room.
Clearly label all reagents and ensure there are sets of equipment for every group. Display instructions on the board or provide a handout. Proper preparation minimises downtime and keeps the students focused on scientific observations.
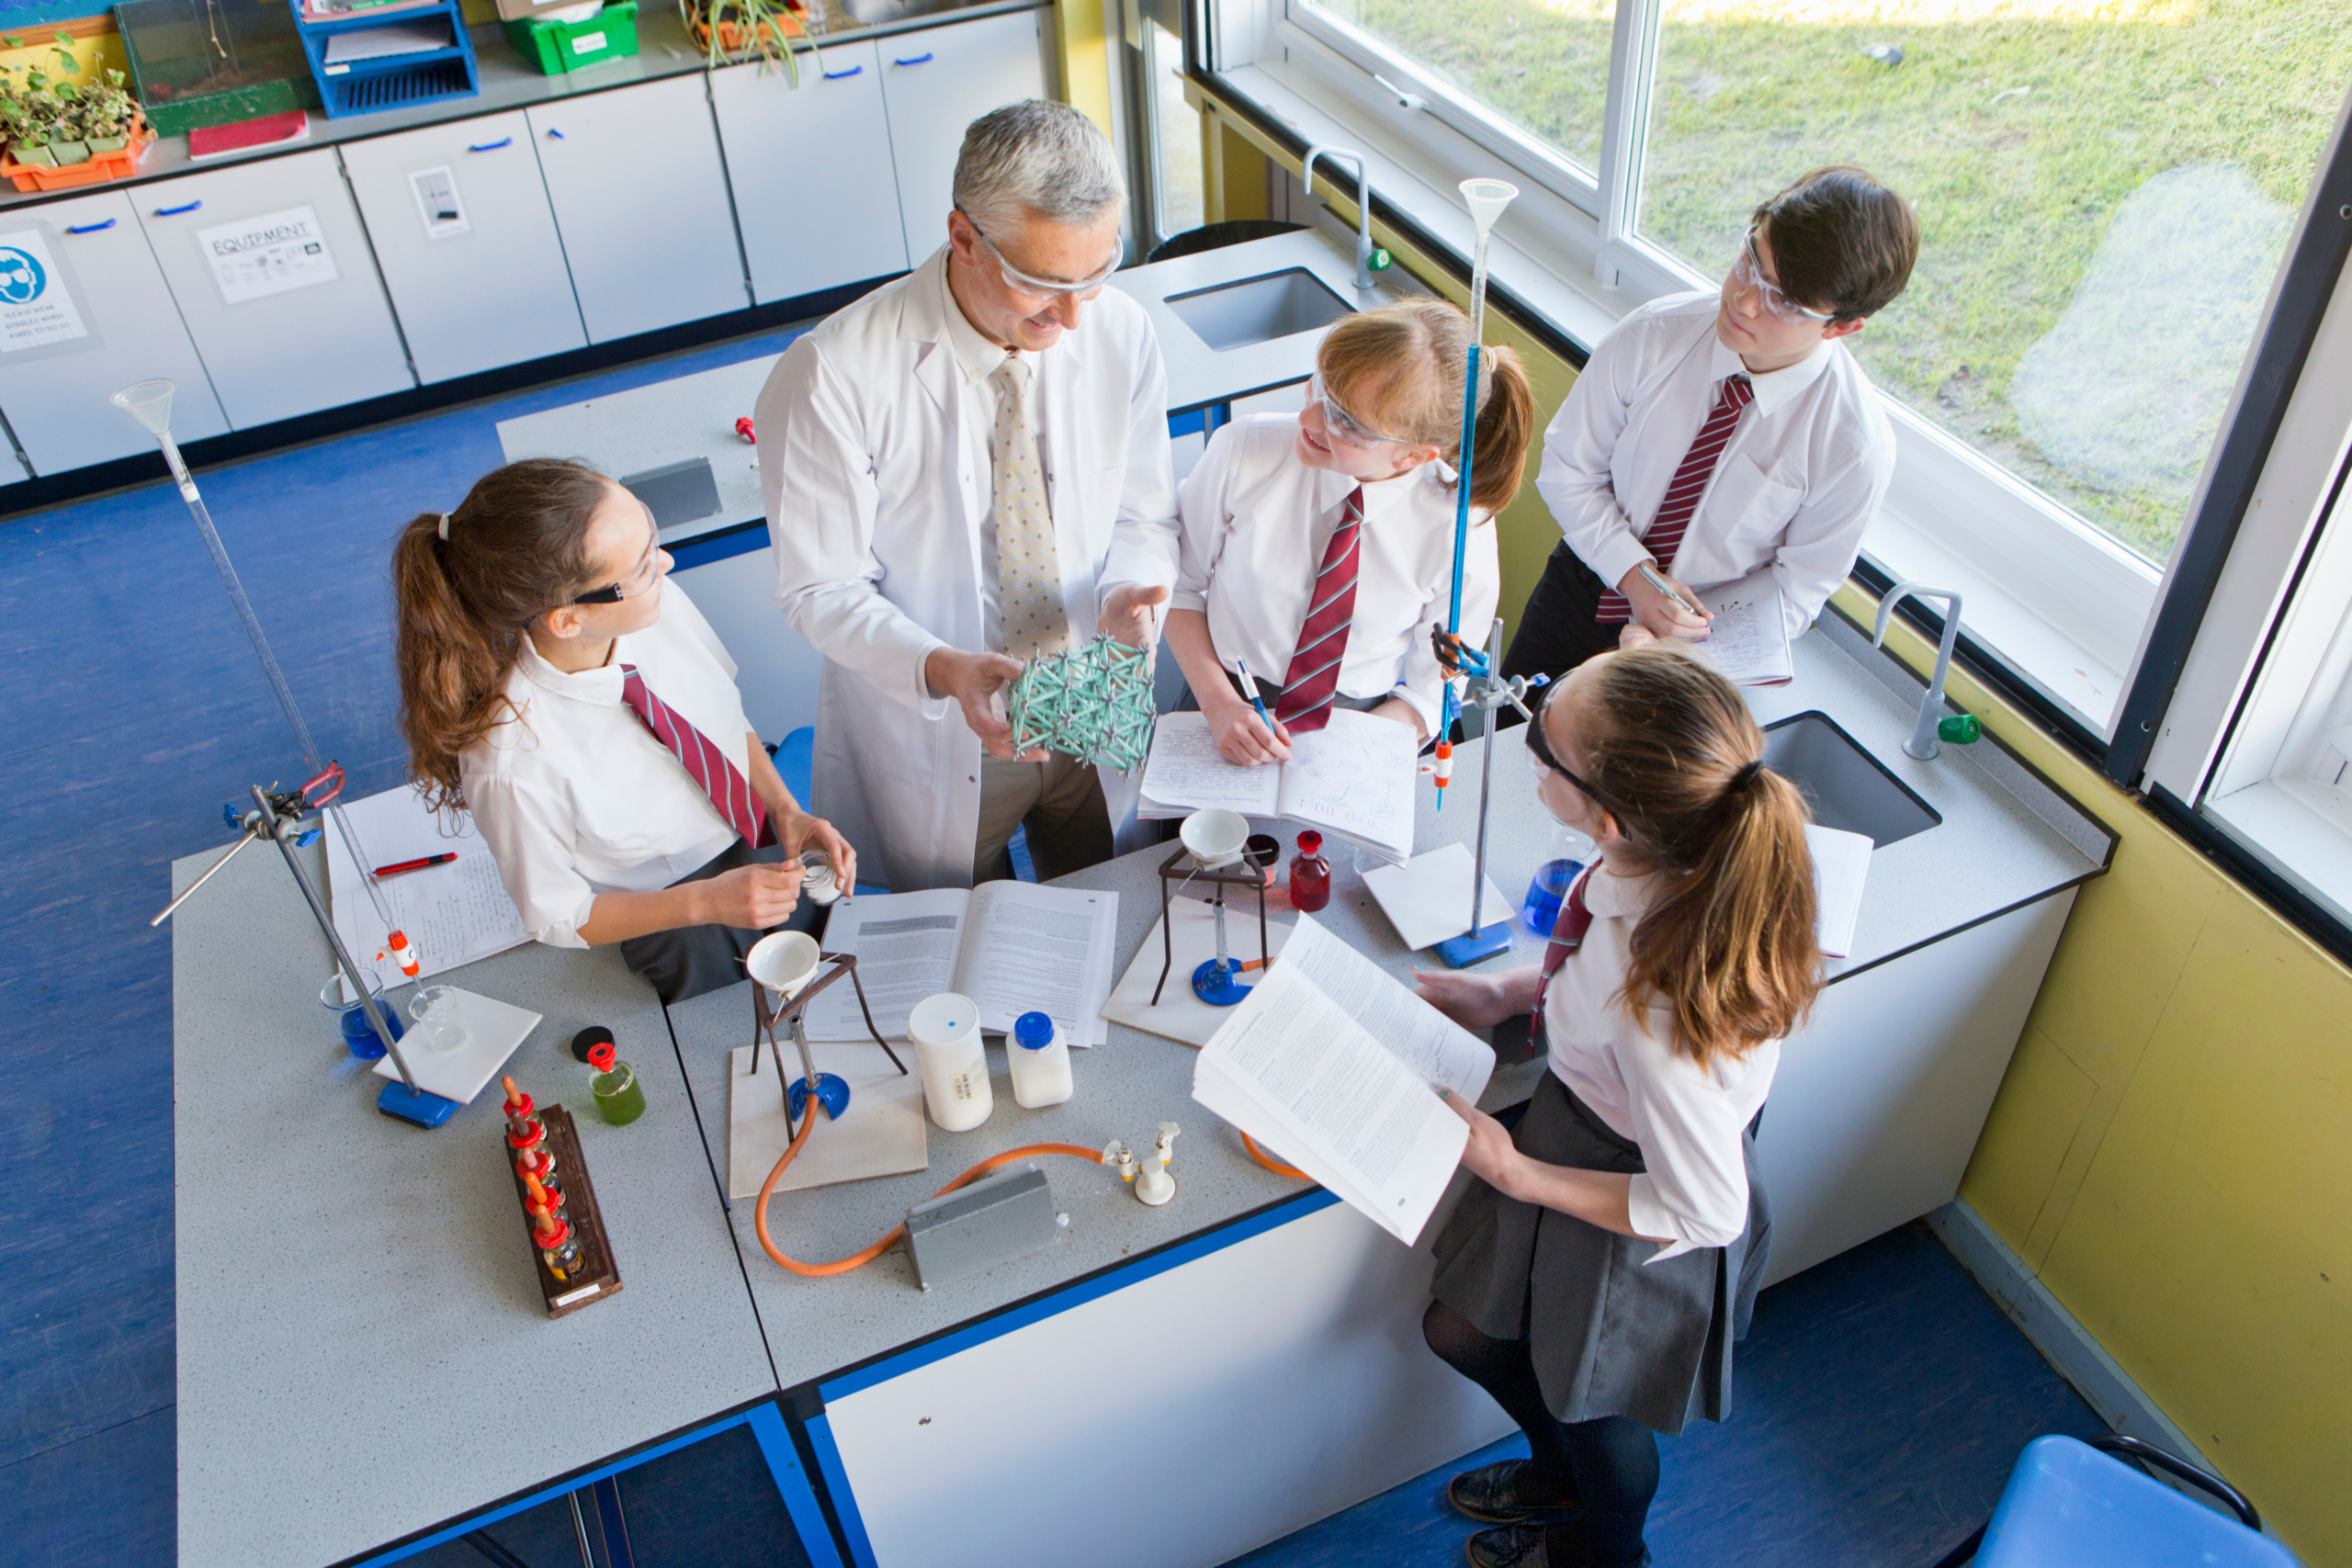
Essential Lab Safety Rules for Students
Safety is a priority in all science experiments for schools. Students must understand the following safety protocols:
- Safety goggles are mandatory when handling chemicals.
- Students should never mix chemicals unless instructed to or assisted by the teacher.
- Students should tie back long hair and secure loose clothing, especially when using Bunsen burners or chemicals.
- All spills should be reported immediately.
Enforcing these rules creates a professional environment where students can explore safely. These habits also prepare them for higher-level laboratory work in university.
Conclusion
Science experiments for schools give students the chance to engage with chemistry in a fun, interactive, and memorable way. Practical experiments build curiosity, confidence, and a deeper understanding of core scientific concepts. With the right preparation and safety measures in place, chemistry experiments can be one of the most rewarding parts of the school curriculum.